Good morning all! So here's the scoop. My little family of 5 is going on big vacation for 2 weeks starting today! EEEEEEEEE! I'm sure I'll be around now and then, mostly on Instagram, but I figured I wouldn't have much time for posting. I put out a call for help and am SO EXCITED to have some amazing guest posters featured on my blog! All the ladies I'll be featuring have fabulous blogs and I fan girl over all of them! I'm so lucky to have such wonderful friends. You will probably see some posts from me towards the end of my vacation so I don't fall completely silent, but until then I hope you enjoy all the beautiful posts that are set up! And the biggest thanks you and hugs to all the ladies that helped me out!
My first guest poster is Lisa from Cosmetic Sanctuary! Lisa has an amazing blog full of polish, makeup and beauty product reviews. Her reviews are always thorough with lots of beautiful pictures to enjoy. I'm pretty sure if you are looking for a swatch of just about anything, it'll be on Lisa's blog. So yeah, I'm feeling pretty big-headed to have such a big-timer helping me out! And now I've gabbed entirely too long. Please be sure to check out Cosmetic Sanctuary and let's jump in to the post!
xx,
Jen
Here's a collage of some recent (and very lovely) posts you can find on Cosmetic Sanctuary!
Hey this is Lisa from Cosmetic Sanctuary and I'm thrilled to be doing a guest post for Jen!
I'm pretty much all about the easy nail art, and today I'm going to be showing a mani that is similar to a Peppermint Starlight Mint candy which is perfect for a holiday look.
If you are really good, you can do this design with out nail vinyls, but I'm not so I use as much help as I can get!
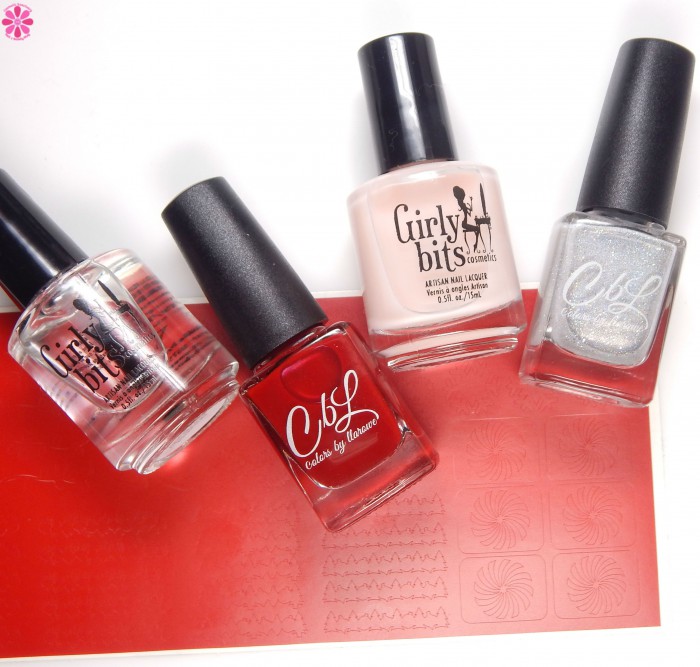
For this look I'll be using Girly Bits Smooth Move Base Coat, Colors by Llarowe Fairy Dust, Colors by Llarowe Devilish, Girly Bits Glitter Glaze Top Coat and KBShimmer Nail Vinyls
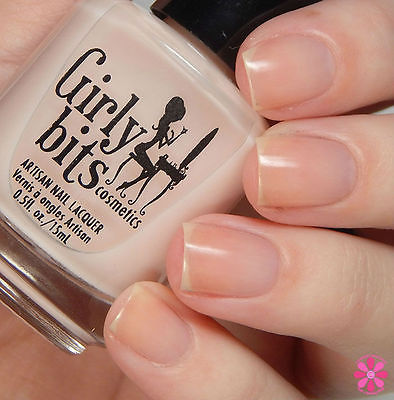
To start, I used Girly Bits Smooth Move base coat.
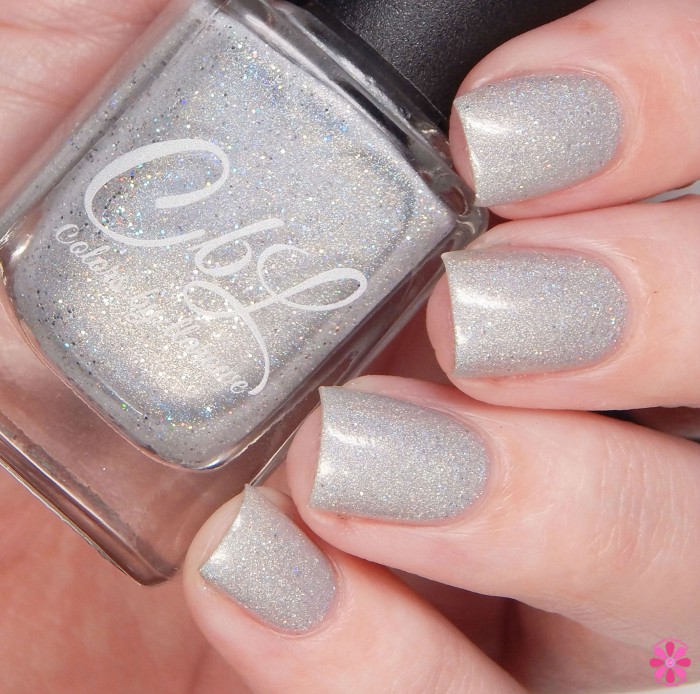
I paint my nails with 2 coats of Colors by Llarowe Fairy Dust. This is a nice, subtly sparkly shade. You can go for a more intense linear or scattered holographic if you prefer.
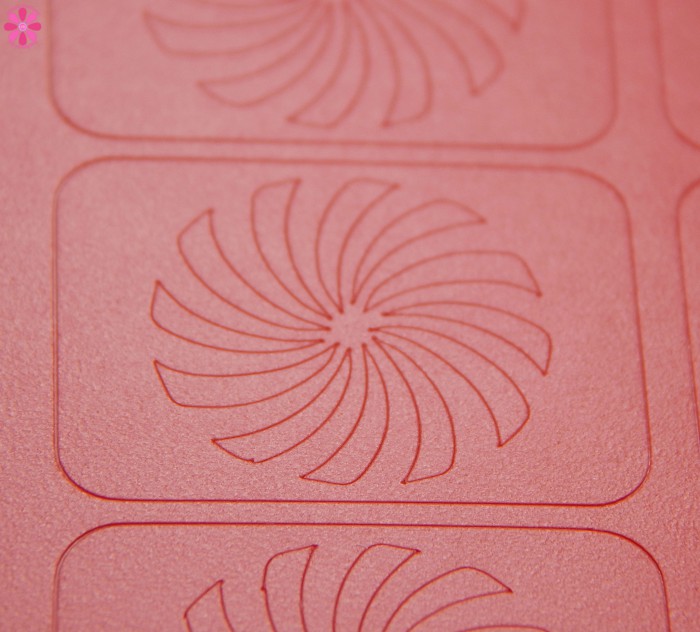
Here is the sheet of vinyls I'll be working with. See all those small pieces in the swirl? You want those out of there.
Easiest way I've found is to remove the vinyl from the sheet and then press the vinyl you'll be using onto a small piece of wax paper and lift away. This should leave all the pieces you don't want on the wax paper and you'll have the vinyl as you need it.
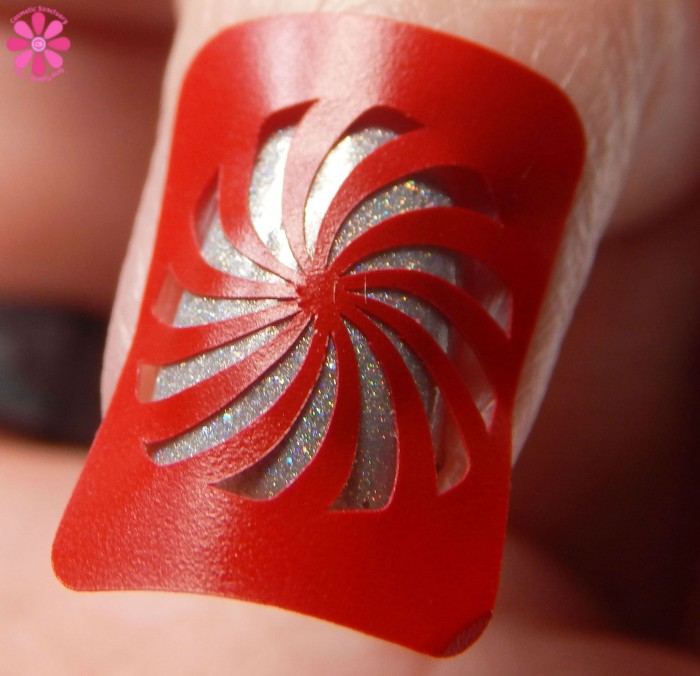
Place the vinyl on the nail you'll be designing. I'm doing this on my ring and middle fingers only. You will need a new vinyl for each nail.
Place the vinyl on the nail and press it down around the whole nail. If you have a severe curve to your nails, you might find it easier to place it on the nail and then use a small pair of scissors to cut the vinyl on each side to open it up and allow for it to lay on the nail without folding in on itself.
Once placed - take your red jelly polish and paint over the vinyl, then lift the vinyl away as soon as the polish is down
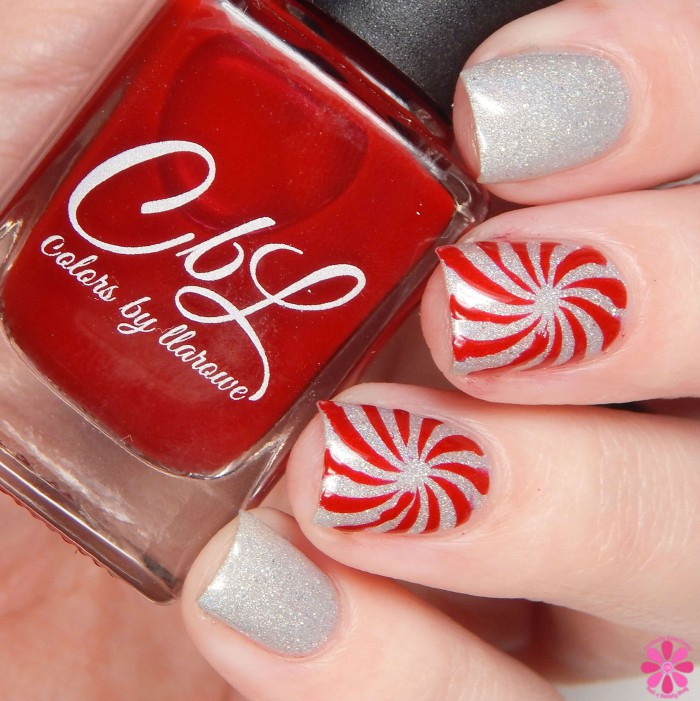
And that's it! Quick and easy.
Thank you My Nail Polish Obsession for having me today!


No comments:
Post a Comment