Showing posts with label gradient. Show all posts

Sunday, November 10, 2019

Simple Fall Gradient with Zoya Leigh & Cam

Evening all!  It was a soccer filled weekend for me again.  My boys have a loaded end of the season so it's going to be games upon games upon games until mid December while most other clubs have ended or are about to end.  But it's ok, I just out on my Soccer Mom hat and enjoy the time spent with my kids.  Anywho, I recently used this gradient for a Halloween mani but wanted to share the gradient itself since it was pretty cute for the season.  I used Zoya's for this and both shades are still available!  Let's check it out.  

*press sample*


Tuesday, August 30, 2016

Born Pretty Store Nail Vinyls Octagon Flower

Good afternoon beauties!  I've got a nail art post for you to check out today featuring some pretty nail stencils from the Born Pretty Store!  I love the design on these stencils, and the fact that they are stickers makes them super easy to use.  Plus, they are gold holo, so I got a bit mesmerized just looking at them.  Anywho, you can get these with this direct LINK, and they are on sale for $1.96!  You can pick these awesome stencils up and so many other great nail art needs at the Born Pretty Store now, and if you use my code JTOW10 you can save 15% off!  Let's check out the goods!

*press sample*

Born Pretty Store: ShopFacebookInstagram

Tuesday, March 15, 2016

Twin Mani Tuesday with Ehmkay Nails, featuring Paint Box Polish

Good morning dears!  I have a fun post for you this Tuesday...Twin Mani Tuesday!  Of course it's with one of my BFF's, Michelle from Ehmkay Nails.  This gal busts out nail art like it's no one's business!  I hope my nail art can be as awesome as hers when I grow up.  Well this was all Michelle's idea so I can't take the credit for it, but I absolutely loved it so I was 100% on board to showcase one of our favorite brands Paint Box Polish.  Paint Box Polish has recently been killing it with her fantastic polishes!  Super opaque and vibrant and blingy!  Anywho, we both have a holo micro glitter gradient using a couple green shades that are available in the shop now.  You can purchase either (or both) of these or anything else in the shop for 15% off using my code MNPO!  Happy shopping!  

Also - here's the LINK to Ehmkay Nails post!  Make sure to check it out and spread the love!  

*press sample*

Paint Box Polish: ShopFacebookInstagram

Twin Mani Tuesday: Paint Box Polish A Dragon Is Not A Slave & Waimea Waters

Thursday, February 11, 2016

Spread Indie Love February 2016; Superficially Colorful

Hello lovelies!  Popping in with a post that's all about my beautiful friend Jin from Superficially Colorful!  In Facebook Land there is a private group that likes to spotlight a different maker each month.  Well this month that honor went to Superficially Colorful!  I've met Jin in person and she's sweet and funny and the fact that she could tolerate all 3 of my kids (and even make them laugh) was a bonus.  So I wanted to spread some love for a fabulous brand and a gal that I'm honored to call my friend!  Let's look!
 
*press sample*
Superficially Colorful:ShopFacebookInstagramPinterest
Spread Indie Love: Superficially Colorful Tsahik and Atokirina

Monday, December 28, 2015

Winter Mani with KBShimmer Snowflakes Navy Blue Water Slide Decals & Alloy Matey!

Good morning lovelies!  My vacation continues but I am down to 1 guest blogger left and about 6 days to go until I'm back home on US soil.  So I promise to try and share some posts but there's no guarantee since this trip has been go-go-go, see-see-see, eat-eat-eat, do-do-do ALL THE THINGS!  My post for today is another easy mani using KBShimmer Water Slide Decals.  I truly love how easy these are to apply and how they make even a novice nail artist like myself feel like I have something to show off! I also like that these were cute for the holiday as well as the season.  I was also thinking these would make for some amazing Frozen/Elsa nails!  Ok well leave get on with the post!  The Snowflake Navy Blue Water Decals are available in the KBShimmer shop now for $2.95.  Alloy Matey! is also available for $8.75.  And now pictures!

*press sample*

KBShimmer: ShopHarlow & CoFacebookInstagramTwitterPinterest

KBShimmer Snowflakes Navy Blue water Slide Decals

Sunday, December 27, 2015

Guest Post from Ashley is Polish Addicted

Good morning beauties!  Plugging along with these fantastic guest posts!  Today Ashley from Ashley is Polish Addicted is taking over my blog!  And guess what?  Thats a-ok with me!  Ashley is an amazing person, friend and I adore her blog!  She's really embraced nail art and I am seriously envious of her skills.  Now I'll find it hard to believe, but if you haven't heard of her blog you definitely want to visit Ashley is Polish Addicted now!  Now that's enough chatting!  Let's look at polish!

xx,

Jen

Of course...here's a collage of some recent manis from Ashley!  Fabulous!


Tuesday, July 21, 2015

Mini Mani Moo Liquid Tape Review

Good morning lovelies!  Hope you are having a wonderful Tuesday.  Today I have a review of a product I was introduced to at the Tips & Sips Cocktail after party while I was in Las Vegas for CosmoProf.  I hadn't heard of Mini Mani Moo before but I am familiar with liquid latex and it's use for all things nail art.  The company, based out of Texas, is all about making nail art easy for everyone.  Not only can you use the Liquid Tape for easy nail art clean up, you can also use it as a peel off base coat (I haven't tried it this way yet).  Mini Mani Moo ships worldwide (some restrictions may apply).  Not only is Liquid Tape available on the Mini Mani Moo website, but you can also pick up polish, stampers, water decals and topcoat.  Mini Mani Moo can be purchased on Amazon ($8.90) and the Mini Mani Moo website ($9.90).  Let's jump in and check this stuff out!  

*press sample*


So here's Liquid Tape.  It's much like other liquid latex products that are currently available on the market.  What makes it different is 1 - it's applicator and 2 - it's scent.  I haven't seen a doe foot applicator and I found it very easy to use.  I had more control over where the latex went on my fingers.  I think I need to practice with it again and use a heavier hand applying it as I feel I didn't have enough latex on my fingers and ended up cleaning up more than I wanted to with acetone.  The scent when wet is the typical latex smell, but not overly powerful.  But once dry it smells like coconut - very pleasant.  The 2 things I would recommend to a Liquid Tape user are to swipe on a nice heavy layer to make sure everything is covered well and to make sure to not get any on your actual nail (if you are only using it for easy clean up) because you will pull up the polish - as I did in a few places.  Other than those 2 user errors I did enjoy Mini Mani Moo Liquid Tape.  It's ease of use and availability on a huge reseller like Amazon make it an easy choice.  It's very affordable as well.  I will definitely be using Liquid Tape again!  

Here's a bottle shot of the product.  Don't mind my polish-messy towel, that thing gets good use during nail art and swatching time.  

Mini Mani Moo Liquid Tape

Here's a nice pic of the doe foot applicator.  It was very easy to work with, I didn't have any latex end up pooling in my cuticles which was nice.  

Mini Mani Moo Liquid Tape

The next 2 pictures show, again, how easy the doe foot applicator was to use.  I'd suggest getting more product on the applicator OR going over your skin twice to ensure everything is covered well.  

Mini Mani Moo Liquid Tape

Mini Mani Moo Liquid Tape

Here's the gradient ready to go on the sponge applicator and the actual application.

Mini Mani Moo Liquid Tape

Mini Mani Moo Liquid Tape

First layer of of the gradient is very light and sparse.  I went over a few times to darken things up and completely cover my nails.  But you can already see how the Liquid Tape is going to save me from endless glitter clean up with a brush and acetone.  

Mini Mani Moo Liquid Tape

Completed gradient.  Messy fingers.  Let's see the clean up.  

Mini Mani Moo Liquid Tape

The next 2 pictures show how easy it is to just peel the Liquid Tape off.  You simply lift up the Liquid Tape at an edge and continue to pull it off.  You can use tweezers to peel it off or just your finger.  It's very easy to remove.  

Mini Mani Moo Liquid Tape

Mini Mani Moo Liquid Tape

And here's my gradient, all the Liquid Tape is off.  You can see a few spots that still have polish on them - as I mentioned before, I should have put on a thicker coat or doubled up.  But the amount of clean up is nothing compared to what it would have been if I'd done the gradient on my bare skin!  

Mini Mani Moo Liquid Tape

And just so you can see what the finished gradient looks like in the sunlight - sparkly, pretty and clean!  

Mini Mani Moo Liquid Tape

Pin It
Instagram

Friday, October 24, 2014

Smitten Polish Halloween Duo: Fire Burn & Cauldron Bubble

Good evening ghosts and ghouls!  Tossing up a super quickie post to show you the stunning new Smitten Polish Halloween Duo.  There is going to be a restock on Saturday, 10/25 at 2pm central and these will both be available so I wanted to share just how amazing they are.  If you love black, orange, micro glitter, Halloween themed things then these are for you!  They are actually sold separately, not in a set and are $9USD each.  So let's hop on in and check out Fire Burn and Cauldron Bubble.  

*nothing to disclose*  

Smitten Polish: ShopEdgy PolishFemme Fatale CosmeticsHypnotic PolishRainbow ConnectionFacebookInstagram    

I love orange polish.  Fire Burn is totally amazing and I want to paint everything in my house with it.  Fire Burn is a "bright orange jelly filled with two colors of tiny holographic glitter."  It flickers and flashes just like a flame.  I used 2 easy coats of Fire Burn for full coverage.  Formula and application were both spooktacular.  I finished with 1 layer of topcoat and was good to go with smooth, shiny nails.  

*artificial light*
Smitten Polish Fire Burn

Smitten Polish Fire Burn

Smitten Polish Fire Burn

Smitten Polish Fire Burn


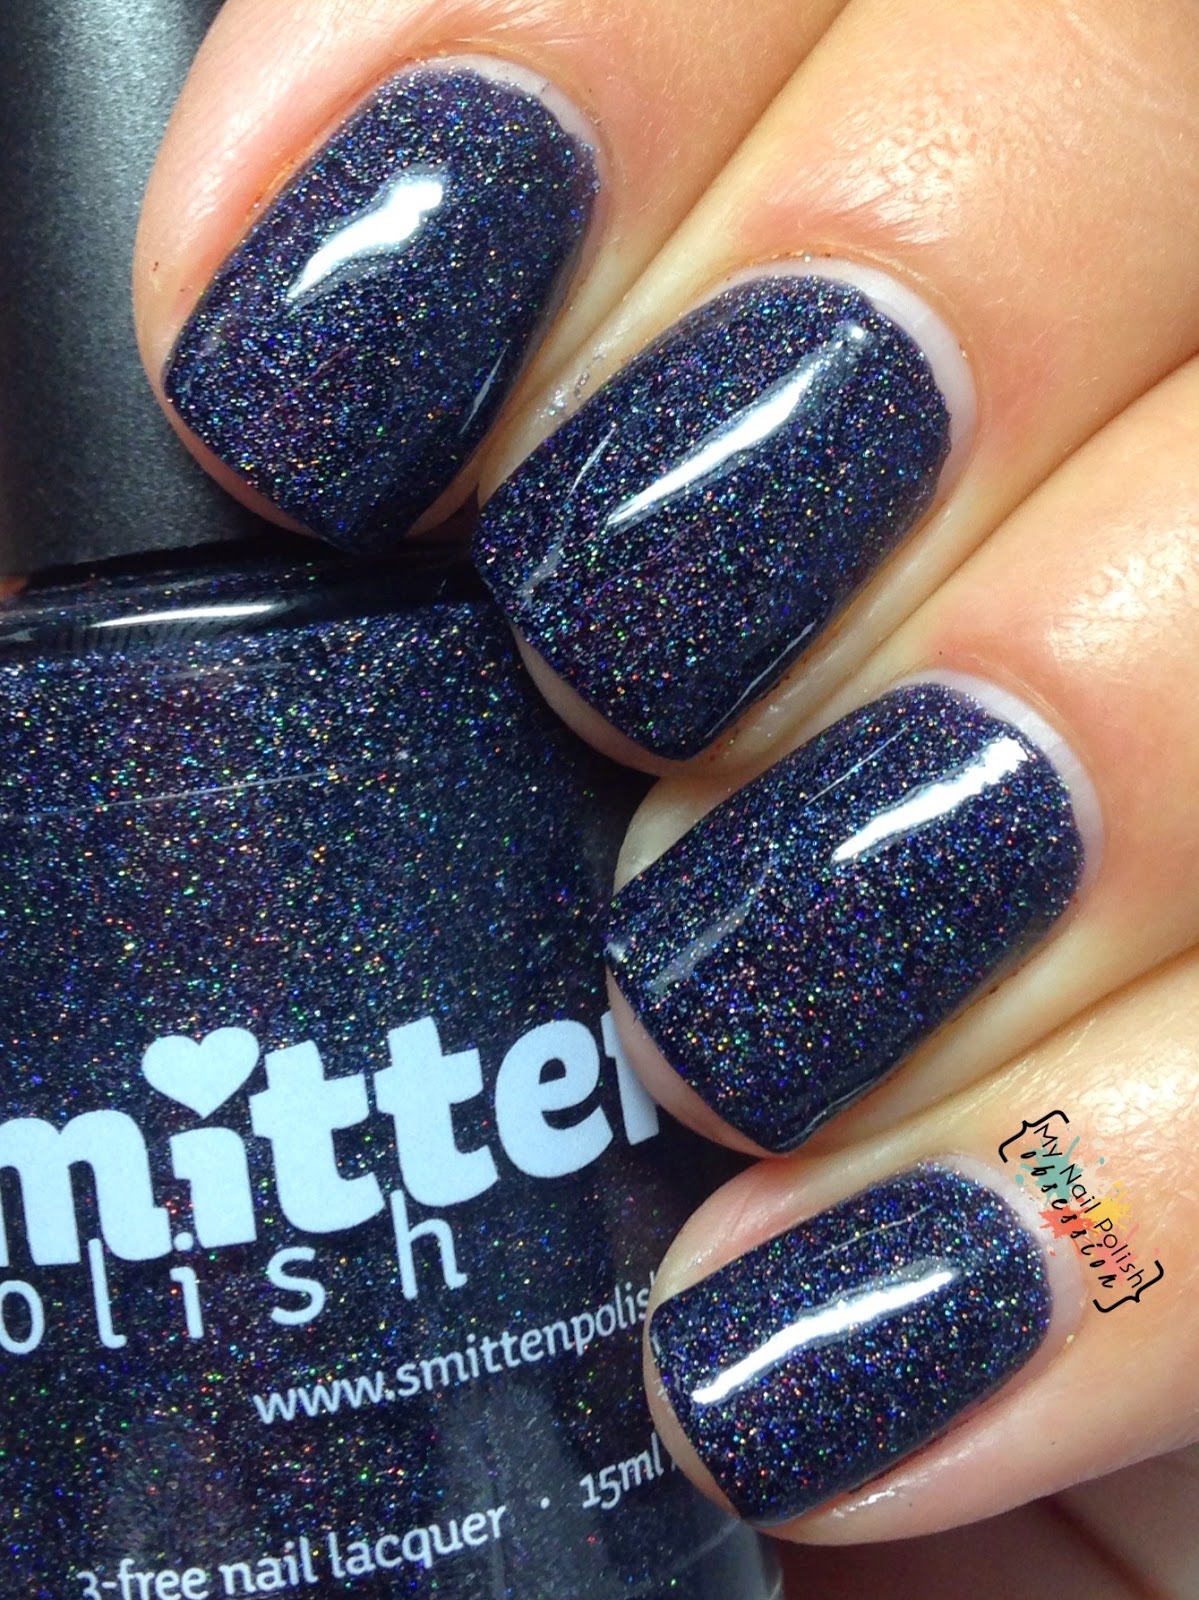
And then there was Cauldron Bubble.  If my heart skipped a beat for Fire Burn then it just did a flip for Cauldron Bubble.  Cauldron Bubble is a "black jelly with just the barest hint of a purpley blue cast - a cooler toned black, filled with super fine holographic micro glitter."  It's completely amazing.  I love the slightly purple-black base, it's the perfect little touch of Halloween-ness.  And those teeny tiny micro glitters?  They get me every time.  Formula and application of Cauldron Bubble were both fangastic.  I used 2 coats to reach full coverage and finished up with 1 layer of topcoat for a glossy, slick finish.  

*artificial light*
Smitten Polish Cauldron Bubble

Smitten Polish Cauldron Bubble

Smitten Polish Cauldron Bubble

Smitten Polish Cauldron Bubble

I threw together a little gradient to show how you can wear these together for a perfect, and easy Halloween mani!  I started with 2 coats of Fire Burn as the base for all nails.  I then applied a couple strokes of Fire Burn and Cauldron Bubble on top of a damp makeup sponge and lightly bounced the sponge on the base.  Ta-Da!  I love how the sponge didn't pick up all the pigment in Fire Burn and shows off the glitters in a more golden tone.  It looks like fire and smoldering embers on my nails!  I finished it up with 1 layer of topcoat.   

Smitten Polish Fire Burn & Cauldron Bubble

Smitten Polish Fire Burn & Cauldron Bubble

Smitten Polish Fire Burn & Cauldron Bubble

Smitten Polish Fire Burn & Cauldron Bubble

Pin It
Instagram

Wednesday, October 15, 2014

Fall Beach Mani Using Sinful Shine Prosecco, Illamasqua Facet & Girly Bits Love Ya Beach

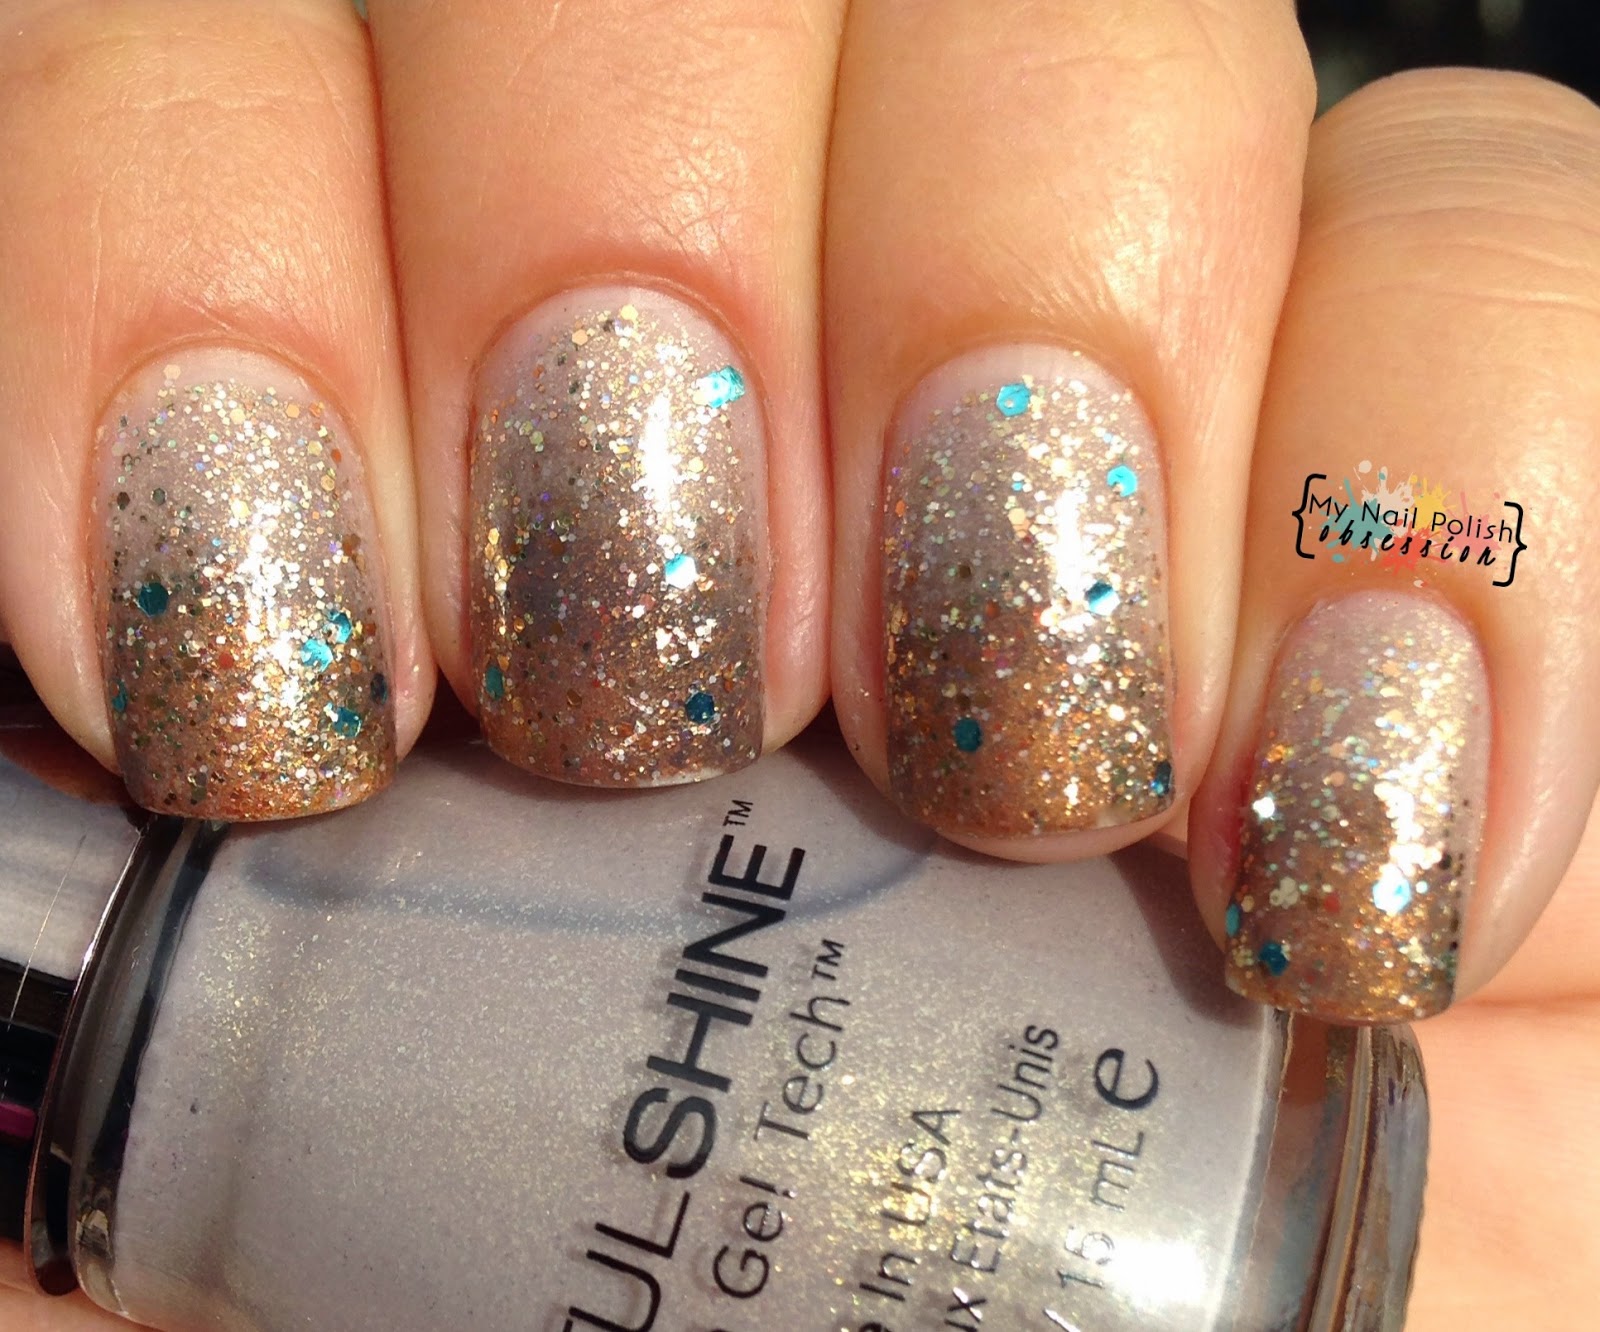
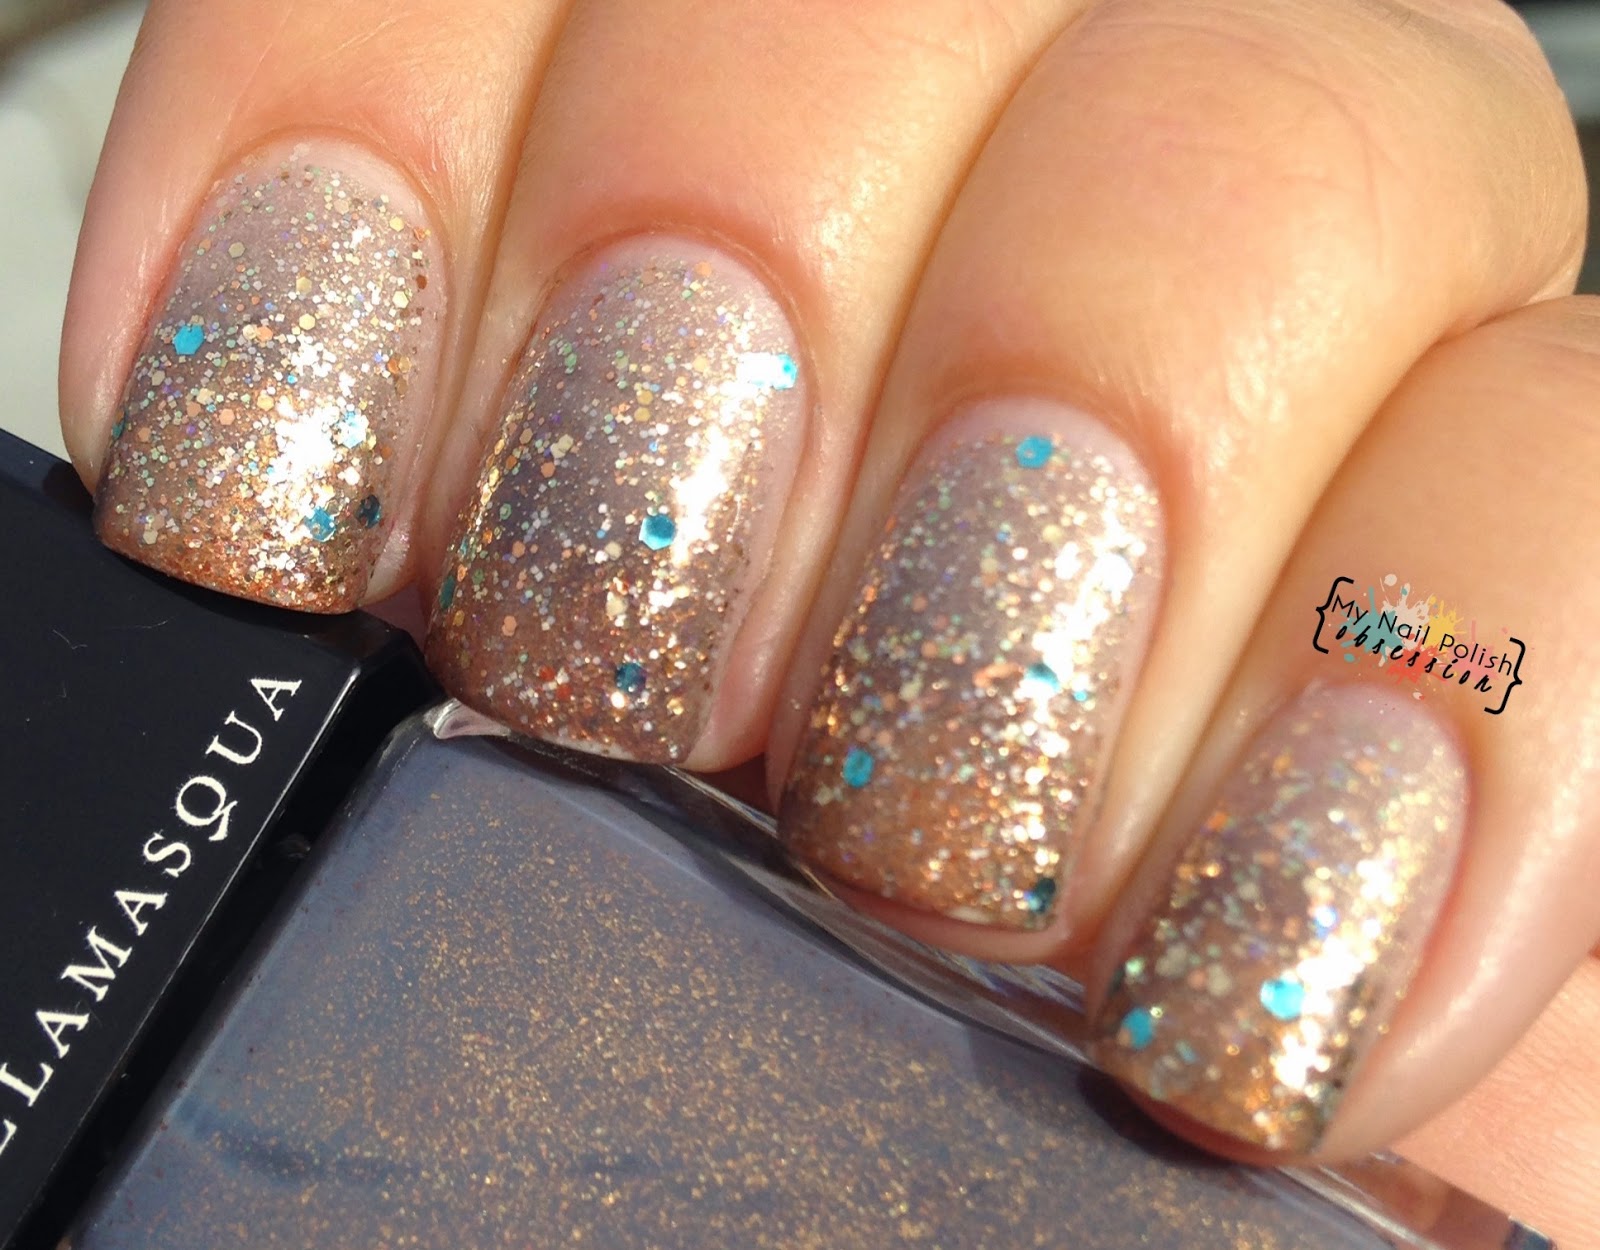
Howdy there!  I'm sitting here watching the Giant's/Cardinals game and I figured I'd toss up a post while I was on the computer.  I am usually pretty good at avoiding hoopla around polish crazes and lately it's been Sinful Shine Prosecco this, Prosecco that and everyone has to have it and it's selling on eBay for crazy raised prices of $12 (instead of the $1.99 it typically is).  Nuts right?  I had zero intention of driving around seeking this polish out.  Well I wandered into a local Rite Aid to get toothbrushes and body wash for my son and hullo, there's a full display of Sinful Shine holiday colors - including Prosecco.  So I got one (for $1.99).  Well after some discussion with my friend Michelle at Ehmkay Nails, we came up with a cool idea to use it in a mani so here it is!  It reminds me of a chilly Fall day at the beach with the blend of taupe, brown, gold and aqua colors.  

*nothing to disclose*

I started this mani with 2 coats of Sinful Shine Prosecco as a base.  Prosecco is a cool taupe with a heap of golden shimmer.  It's really pretty and I imagine it would be pretty flattering on just about any skin tone.  It also has a great formula and applied very nicely.  I then used Illamasqua Facet, placing a bit on a damp makeup sponge and lightly dabbed it on the tips of my nails blending it upwards.  Facet is a totally gorgeous "grey mauve with gold and copper particles."  I did 2-3 coats via sponging it on.  I loved the way it looked alone but I knew it needed something else.  Insert AH-HA moment!  Girly Bits Love Ya Beach!  I totally love this polish and am so glad I have a bottle of it (actually I wish I had 2 and hadn't given away my spare bottle).  This is the best beachy glitter polish in the world.  I used 2 coats of Love Ya Beach and finished with 1 layer of topcoat.  

*artificial light*
Sinful Shine Prosecco, Illamasqua Facet, Girly Bits Love Ya Beach

Sinful Shine Prosecco, Illamasqua Facet, Girly Bits Love Ya Beach

Sinful Shine Prosecco, Illamasqua Facet, Girly Bits Love Ya Beach

*direct sun*
Sinful Shine Prosecco, Illamasqua Facet, Girly Bits Love Ya Beach

Sinful Shine Prosecco, Illamasqua Facet, Girly Bits Love Ya Beach

Sinful Shine Prosecco, Illamasqua Facet, Girly Bits Love Ya Beach

Sinful Shine Prosecco, Illamasqua Facet, Girly Bits Love Ya Beach

Pin It
Instagram

Wednesday, July 23, 2014

Summer of Untrieds Day 23: Microglitter

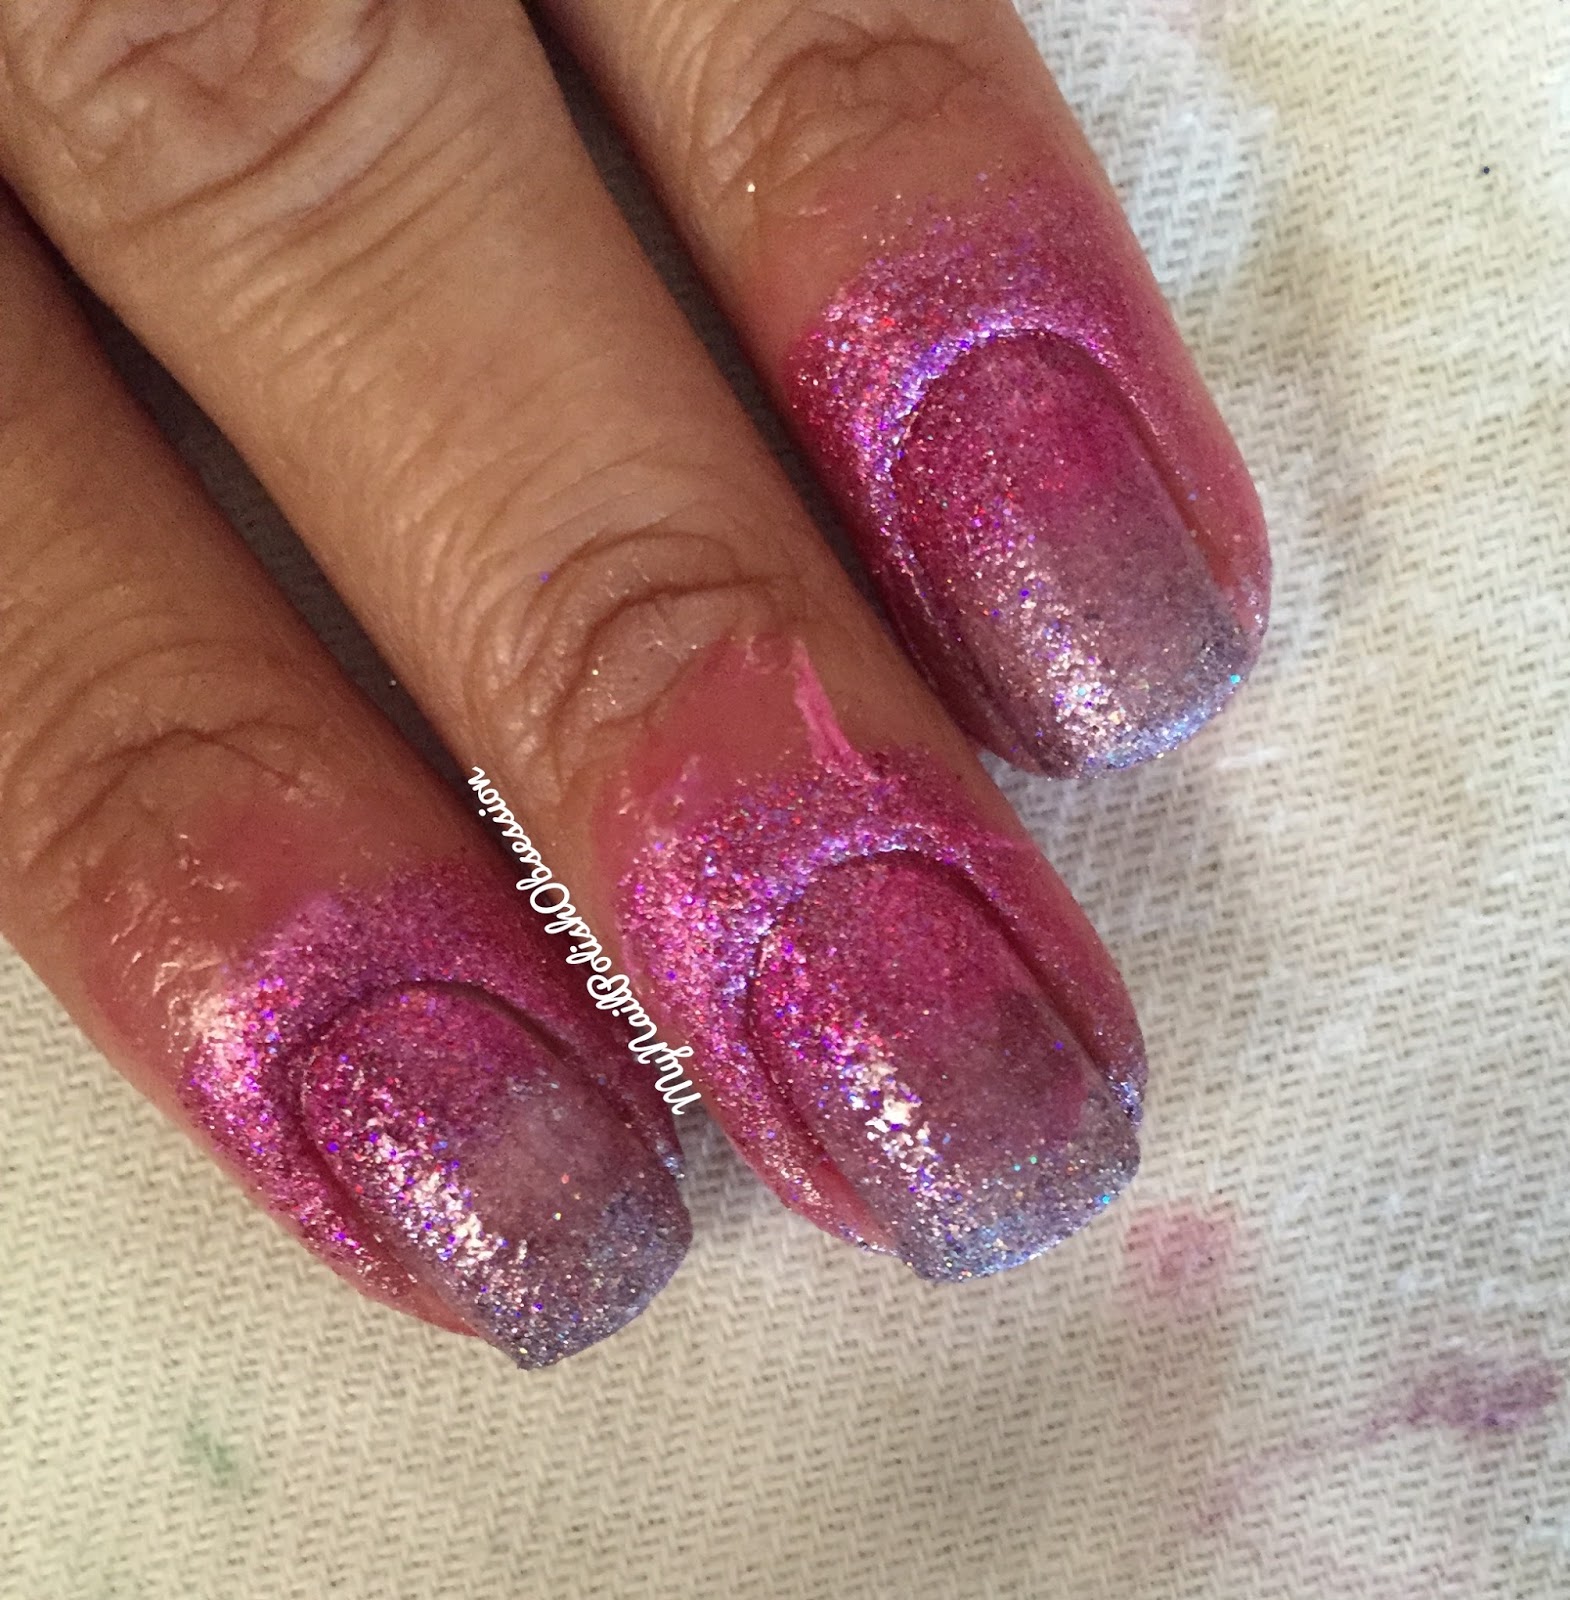
Good morning!  I'm back on track with a morning post for you to enjoy over your cup of coffee - coffee cheers.  Day 23 of the Summer of Untrieds challenge is Micro Glitter.  I have a love/hate relationship with this finish.  I love how pretty and sparkly the teeny tiny little glitters are, I hate how insane they are to get off.  I always end up with glitter everywhere and it never wants to come off.  So clean up and removal is always a drag.  But not so much so that I vow off of micro glitters forever.  I mean how could I, take a look at this gorgeous gradient I did using 3 Model's Own micro glitters!  You can still join the challenge, 8 days left.  Just post your picture on Facebook or Instagram and use #summerofuntrieds, #julyuntriedchallenge or #wishesofablueeyedgirl.  

Aleighty, like I said I have a micro glitter gradient going on here.  I used 3 glitters from Model's Own: Juicy Jules (silver and at the top of my nail by the cuticles), Northern Lights (pink, on the middle) and Southern Lights (purple, on the bottom).  All 3 of these polishes were amazing and I want to try them alone.  Sponging the gradient on my nails was actually much easier than I'd expected as the glitter was nice and dense.  More so in Northern and Southern Lights, Juicy Jules was a but thinner.  Northern and Southern Lights also had slightly tinted bases, I'm not sure if that's from glitter bleeding or if they were always that way, I can't remember.  I sponged 2 coats on my nails and finished with 1 thick layer of topcoat. 


*shade*


Pin It
Instagram